
<cfhtmltopdf> generates high quality PDF file from a text block containing CFML and HTML using the PDF Service Manager.
This tag operation is very much needed in these business areas
1. CMS systems.
2. Online ticketing systems where tickets and invoices have to be converted into PDF.
3. E-commerce sites where order invoice needs to be generated in PDF format.
4. All reporting services.
ColdFusion administrator settings to enable usage of <cfhtmltopdf> tag:
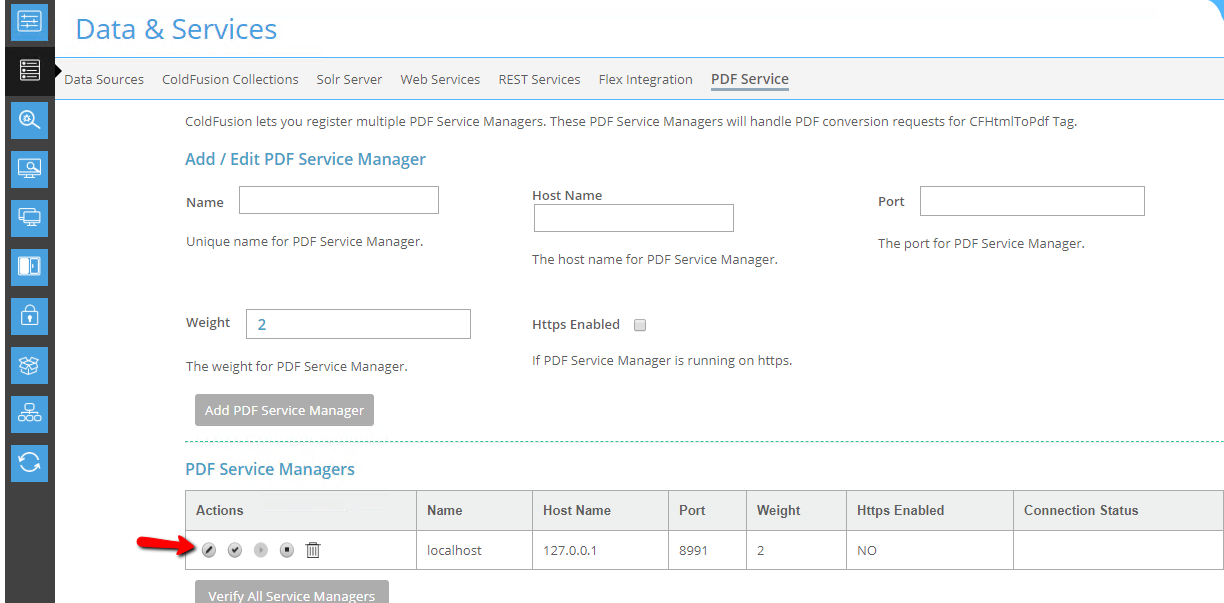
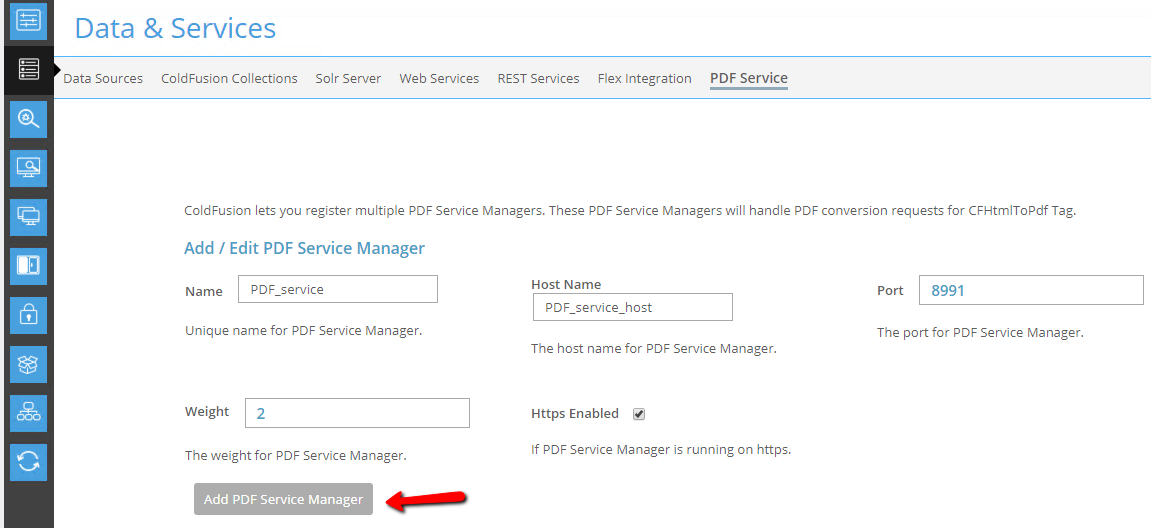
1. CF administrator -> Data & Services -> PDF Service

2. PDF service created, ready to test <cfhtmltopdf> tag.
PDF Service can be enabled with the help of Jetty Installer
To make PDF service work with HTTPS enabled in the ColdFusion admin page, we need to import the certificate to Java KeyStore. First, we need to create self-signed certificate.
Here is the step by step process:
1. First how to generate a private key using Keytool.
- Open command prompt, change directories to your JDK’s bin folder.
- Enter this command to create a client private key.
- keytool -genkey -keyalg RSA -alias jettyclients -keystore jettyclientcerts
- Now keytool utility prompts you for the details like Keystore password, Fully qualified domain name of the host, Organizational unit, Name of organization, City or locality, State or province, Two letter country code.
- Enter all the details and export the certificate to be used.
- cfroot\jre\bin\keytool -export -alias jettyclients -keystore keystore.jks -rfc -file jettyclientcerts.cer
2. Move the file created to jetty location.
3. Add following configuration on the file start.ini from the location “\ColdFusion2018\cfusion\jetty”
- –module=https
- # #
- ssl.host =IP_address
- ssl.port =Port_number
- sslContext.keyStorePath=etc/keystore.jks
- sslContext.trustStorePath=etc/keystore.jks
- sslContext.keyStorePassword=changeit
- sslContext.keyManagerPassword=changeit
- sslContext.trustStorePassword=changeit
4. Save the file and restart the service.
5. Now update PDF service with HTTPS enabled and use service.
6. Copy the certificate file to cfroot\jre\bin and import the certificate.
- cfroot\jre\bin\keytool.exe -importcert keystore”cfroot\jre\lib\security\cacerts” -file jettyclientcerts.cer -storepass changeit
7. Restart the ColdFusion service. Log in to CF Admin and go to Data & Services ->PDF Service> Edit the PDF service with HTTPS enabled.
We can also use <cfdocument> tag to do the same, there are few differences between these two tags
1. <cfhtmltopdf> is available from version ColdFusion 11 onwards where as <cfdocument> is available from ColdFusion MX 7.
2. The new PDF engine service can be installed as a separate service on a remote. You can choose to disable it as well.
3. <cfdocument> can be used without any specific settings or software installation whereas <cfhtmltopdf> usage needs separate settings on CF admin and Jetty installer for HTTPS service to enable.
4. <cfdocument> supports username and username if the source URL is password protected, we do not have the option in <cfhtmltopdf>.
5. <cfdocument> has cfdocumentsection tag is available which will be used to divide PDF into sections, we do not have the option in <cfhtmltopdf>.
Conclusion
In summary, the cfhtmltopdf tag emerges as a valuable asset for seamlessly converting HTML content to PDF within ColdFusion applications. Its integration with the Jetty installer not only simplifies setup but also ensures efficient handling of conversion requests. This dynamic duo enhances developer productivity, streamlining the process of generating visually appealing PDF documents.
With a lightweight and versatile server like Jetty, the setup becomes even more straightforward, providing a robust solution for HTML-to-PDF conversion. In conclusion, the combined benefits of the cfhtmltopdf tag and Jetty installer empower developers to effortlessly implement and manage PDF generation in ColdFusion applications.